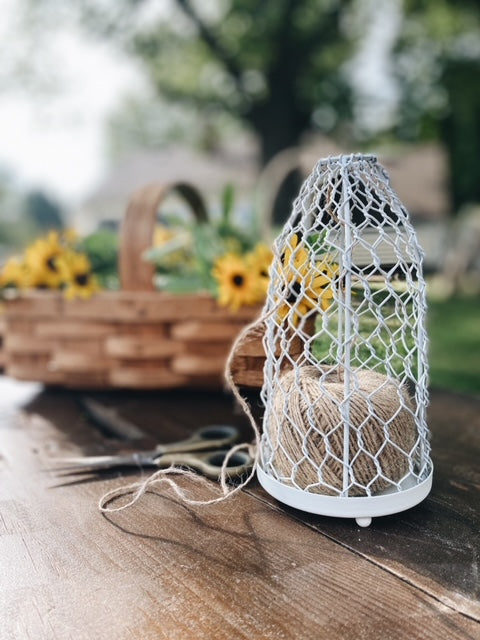
How to Dry Black-Eyed Susan Flowers
I planted Black-eyed Susan's by seed in late spring. I didn't see blooms until mid-July but, boy did they put on a show! I love these flowers because they are easy to grow, drought tolerant, rabbit (and we have a lot of visiting rabbits!) & deer resistant. They are also self-seeders, so I'll see them again next summer! They are easy to dry and use in your fall decor too! To learn more about the varieties and how to grow these smile-giving flowers check out Pinterest. There is a ton of information!

My little helper loved picking them too! ...right up by the root! lol!
How to Dry Black-eyed Susan Flowers

Cut the flowers after the morning dew has dissipated. Clip the stem to about 8 to 10" and check the back of the bloom for any unwanted guests!
Remove most of the leaves. They will curl when dried and add character to your bundle... but, too many leaves will not leave enough air flow and, they may mildew.
Bundle 15 or more stems together and wrap tightly with jute, leaving enough to tie a loop for hanging. The stems will shrink and may need re-tying after the stems have completely dried.

Hang bundles in a dry, dark space with plenty of airflow. Check often if you have high humidity. Flowers should be dry in about two weeks.

Decorating with Bundles of Black-eyed Susan Flowers

I love to hang bundles from a peg rack, cupboard door or tuck them in baskets or other containers. They are such a sweet touch of late summer into fall color!


